
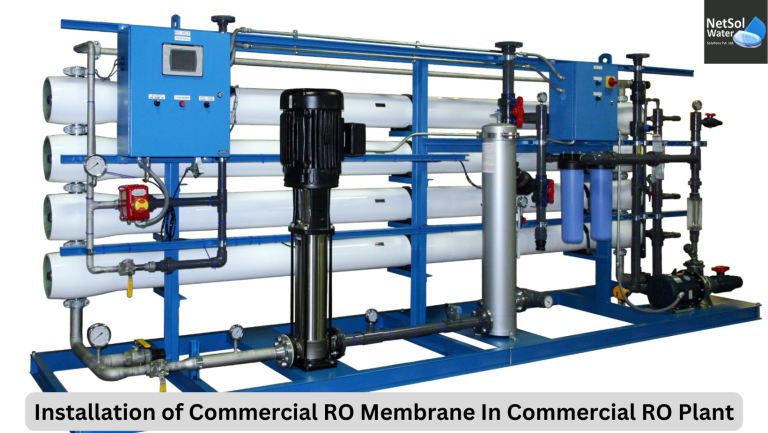
Installing/Replacing/Changing Reverse Osmosis(RO) membranes is a comparatively very go through straight forward course of action that can be attained carefully following step wise procedural instructions given in the manual or by the technician. It is suggested to do the de-assembling in a wet area, because during dis-assembly, water may run out from the section of RO. Other parts in the casing containing several other membranes/filters may get dry which may affect the working operation of the RO. For getting information about the installation of commercial ro membrane in commercial ro plant you need to read whole article
During normal operation of commercial RO plant deposition of various kinds of biological matter , mineral build-up , insoluble organic contaminants, & colloidal particles can contaminate the membranes used in Reverse Osmosis(RO) elements causing fouling.
Apart from contamination, the membrane can get clogged to the point that it is no longer efficient at removing dissolved salts , resulting in a decrease in filtered water output, or both , eventually causing greater damage to the membranes. This is the time or when we will troubleshoot the system, we will come to realize that a new RO membrane is to be installed/loaded/replaced in the RO apparatus.
The reverse osmosis system’s RO membranes should be turned off & emptied in the same way that O rings should be changed . Always remember to take a note or record a video of the new membrane-element with the serial numbers & predicted system position before installing/loading/replacing it. This is very crucial when comparing membrane manufacturer test data to real system performance .
Both end caps of the vessel housing the membrane/s may need to be removed. Following that , the pieces may be removed in the regular flow direction. As a result, their brackish seals will not become jammed against the pressure vessel . The replacement components can be put into the vessel’s feed end , & utilized to push other accompanying parts through .
Lightly lubricate the U-Cup brine seals and inter-connector O-Rings with glycerin to make fitting easier. Each interconnector should have an O-Ring installed. When installing U-cup brine seals, only the open groove should face the upstream end of each element(taking notice of the flow arrow on the side element, which points toward the downstream end). Never use brine seals on both ends of an element.
Following steps must be kept in order while installation of commercial ro membrane in commercial ro plant :
1) First Step : Close the feed water supply line valve on the reverse osmosis system.
2) Second Step : Close the ball valve on the reverse osmosis storage tank. To accomplish this, flip the blue ball valve on top of the tank a quarter turn clockwise.
3) Third Step : Release the system pressure by opening the RO faucet.
4) Fourth Step : Position a shallow tray or pan beneath the filter housing to catch any spilled water during the membrane replacement procedure.
5) Fifth Step : To detach the tubing from the membrane housing cap, press down on the little ring where it attaches to the cap (typically on the right side of the housing). Pull the tube out while pressing down long on the ring.
6) Sixth Step : Unscrew the membrane housing top to remove the RO membrane. It is usual for the membrane to remain present for 1-3 years and to be difficult to remove. Needle-nose pliers may be necessary to remove this.
7) Seventh Step : Insert the new membrane first, with the O-ring end towards the open cap and the large outer rubber stopper closest to it. Insert the membrane into the membrane housing until the O-rings are securely placed. To center the membrane and guarantee proper installation, move it in a small circular motion while applying strong pressure. If the membrane is not properly positioned, untreated water will flow easily through the system.
8) Eighth Step : Install/Replace & tighten the membrane housing cap. Re-attach the tubing to the removed fittings . To ensure that the tubing is securely fastened , place it as far as possible into the proper fittings , then softly & carefully pull/drag on it to fasten it in place .
9) Ninth Step : Replace each tube in its appropriate position/location if the tubing on the opposite end of the membrane housing cover was removed .
When changing RO membranes, we should DO the following:
- Take note of the water temperature.
- For optimal performance, replace the membrane every three months.
- Choose the appropriate size and kind of filter.
- Determine the source of any damage.
- Learn how seasonal variations in feed water might affect performance.
We should also avoid(DON’Ts) the following:
- Allowing chlorine to be present in the feed water
- System shutdown for lengthy periods of time
- Completely closing the throttle valve
- Using an inadequate feed flow to operate the system
You may replace a RO membrane while keeping these preventive measures in mind in the following ways:
- Close the tank ball valve.
- Raise the RO faucet lever.
- Remove the membrane housing cap’s red tubing.
- Take off the membrane housing cap.
- Always remove the old membrane.
- Place the new membrane in the housing.
- Put the membrane cap back on place to cover.
Netsol Water works with diversified global ventures to face & tackle complex environmental issues/problems by strategically compiling current treatment technology with real-world practical solutions . It is provide best water treatment plants in all over India. Netsol Water is the best company for the manufacturing of these . The most reliable the most trusted manufacturer. So these are the steps of installation of commercial ro membrane in commercial ro plant.